Overview
Audio visualizer demowww.youtube.com
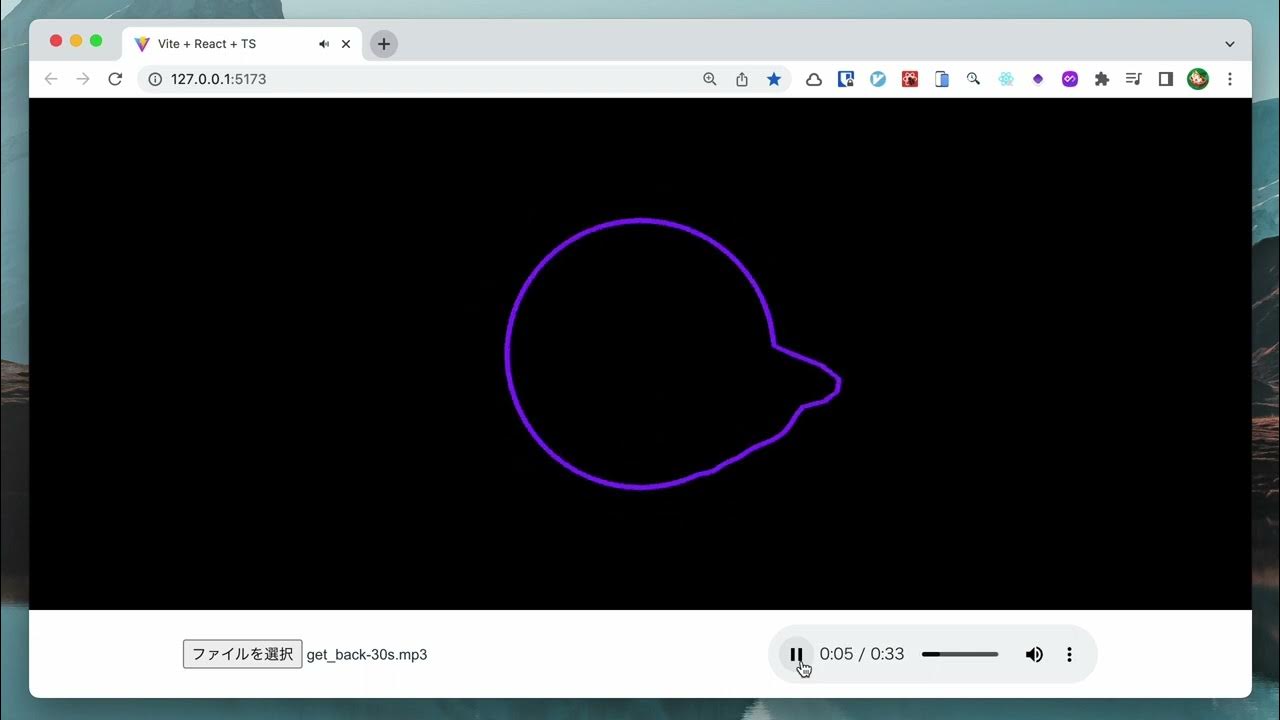
I'd like to share how to implement this kind of audio visualizer with React Three Fiber, a React renderer for Three.js.
The purple line reacts to the frequencies of the selected audio file as you play it. Such audio analysis can be done by WebAudio API which is explained later.
Create Vite project and install dependencies
Let's get started by creating a project with Vite which may be the fastest tool for testing this kind of tiny app.
# Use your favorite package manager
pnpm create vite --template react-ts
pnpm add three @react-three/fiber @react-three/drei meshline
Compose basic layout
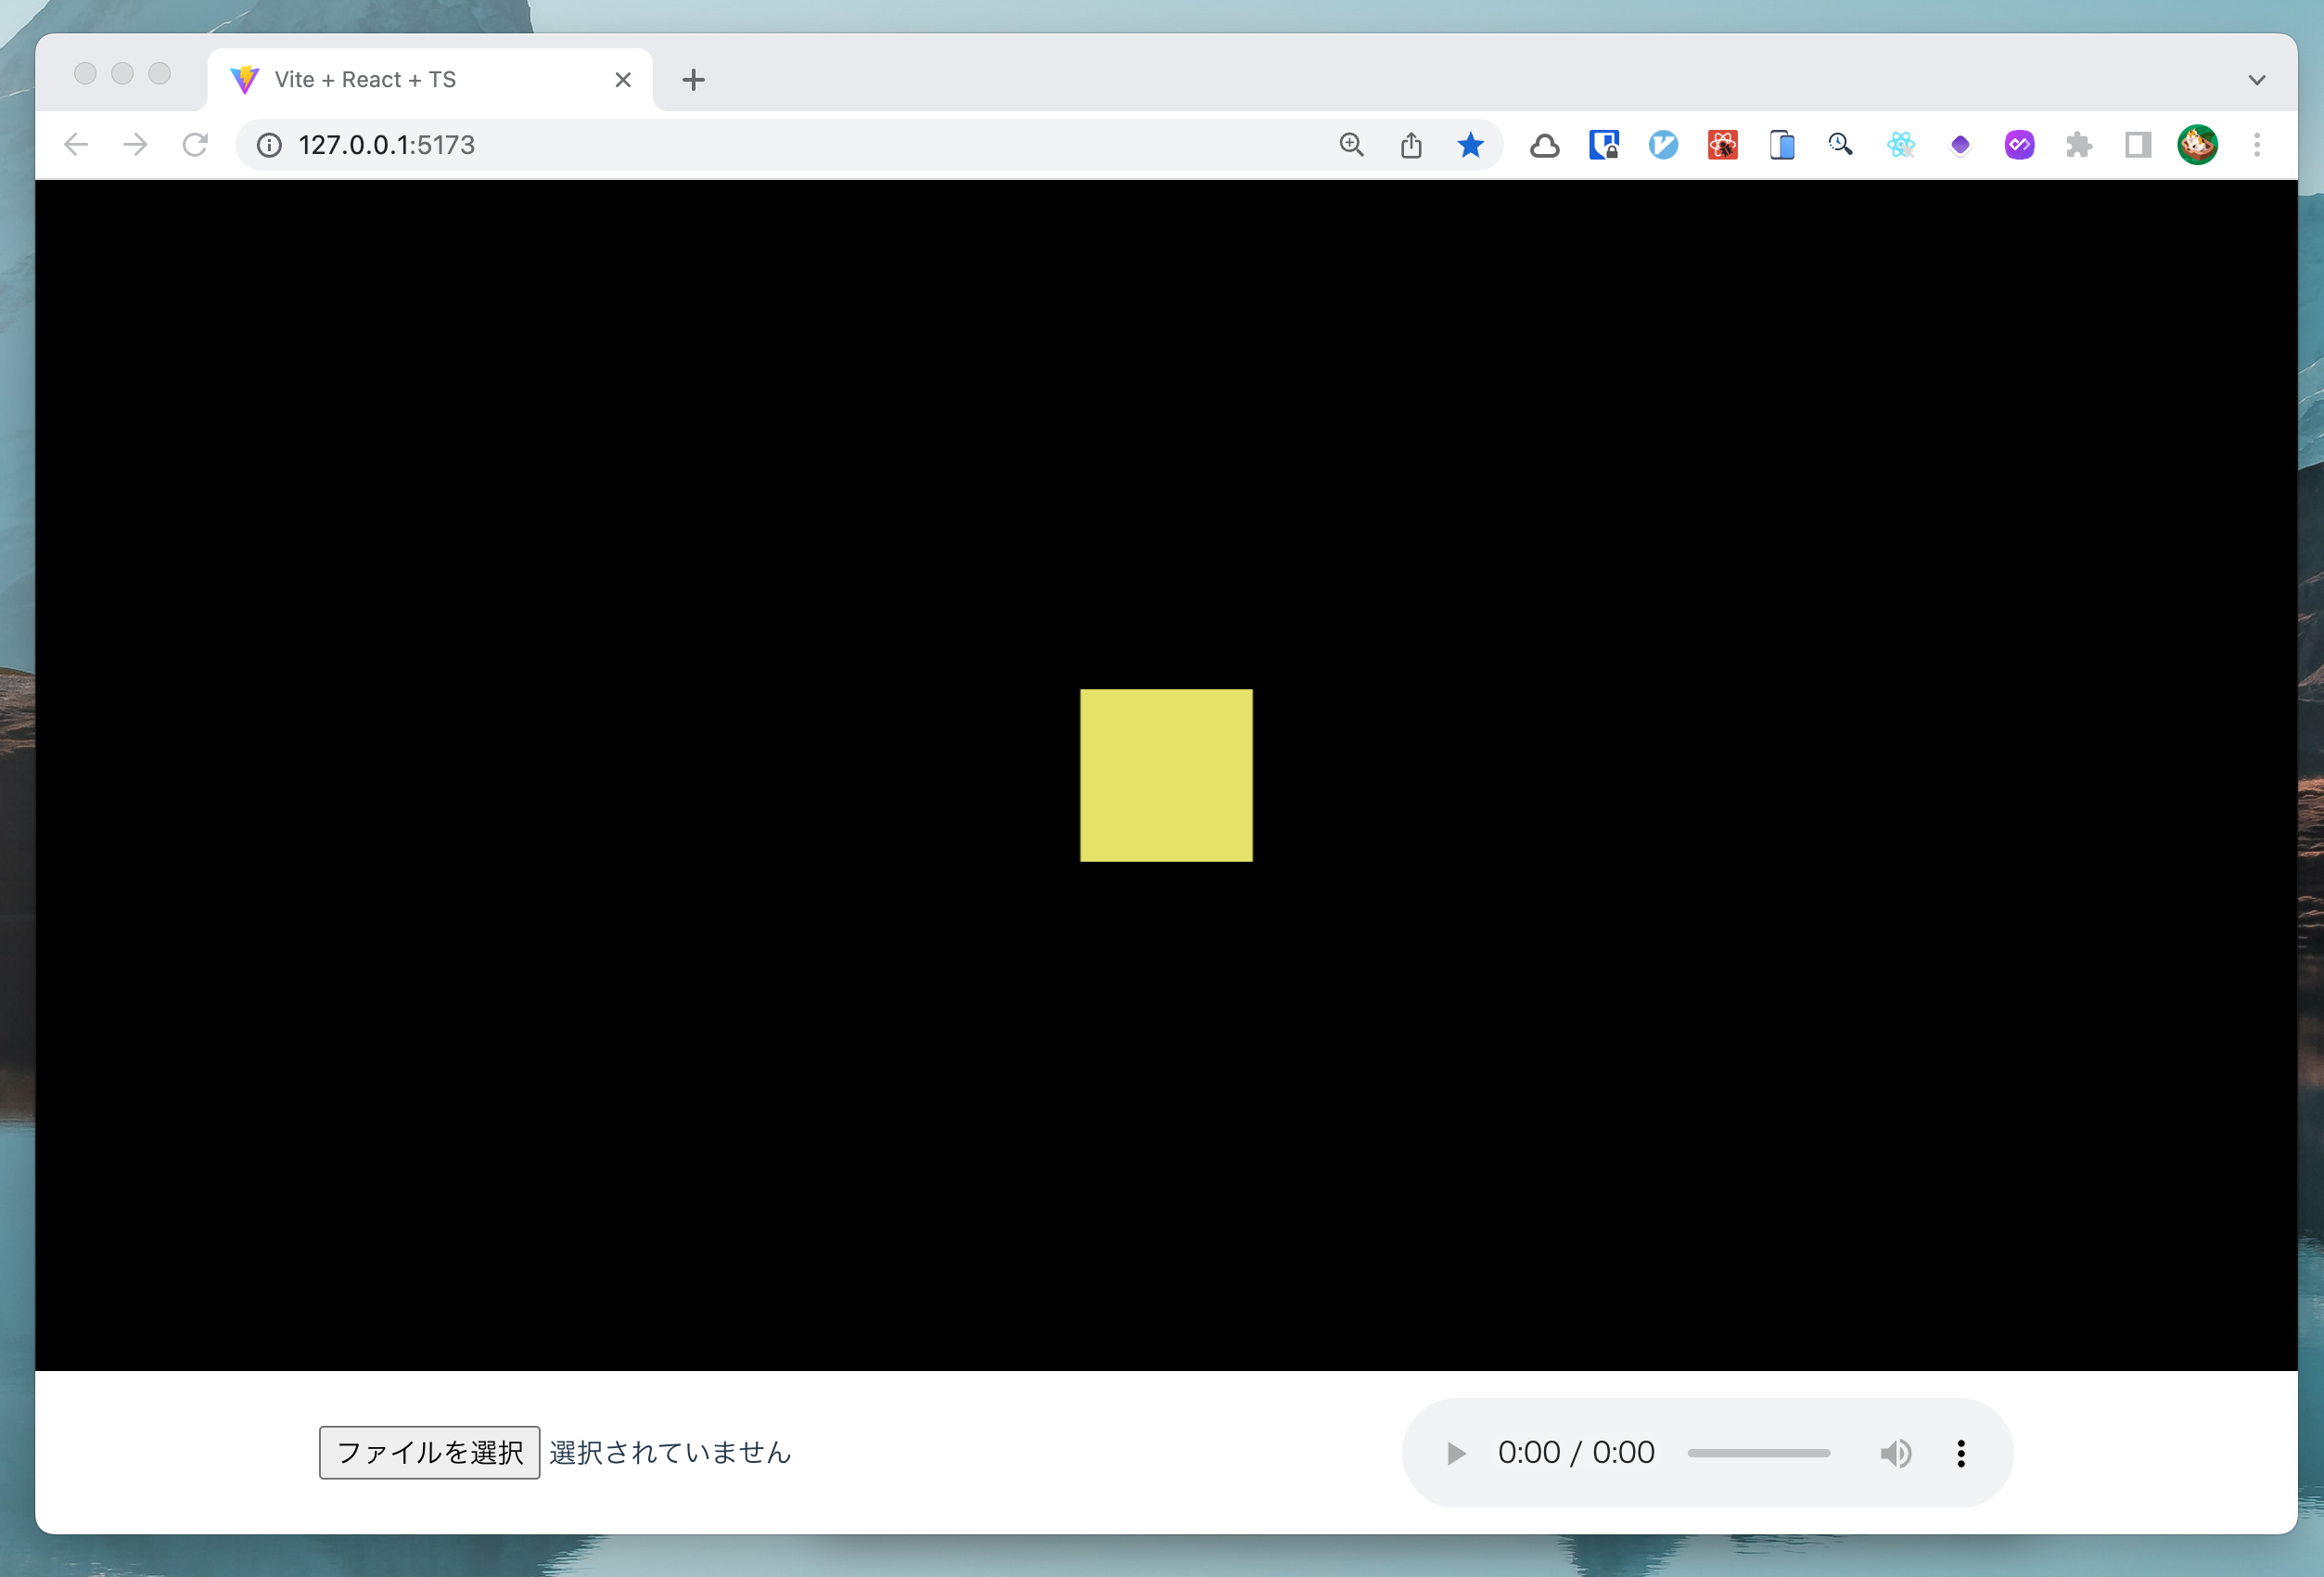
Before starting the implementation of detailed logic, create a basic layout and scene to test if react-three-fiber is correctly installed.
import React, { ChangeEvent } from "react";
import { Canvas } from "@react-three/fiber";
import { Box, OrbitControls } from "@react-three/drei";

function App() {
  const [audioUrl, setAudioUrl] = React.useState<string | null>(null);
  const audioElmRef = React.useRef<HTMLAudioElement>(null!);

  const onFileChange = (e: ChangeEvent<HTMLInputElement>) => {
    const file = e.target.files?.[0];
    if (!file) return;
    setAudioUrl(URL.createObjectURL(file));
  };

  return (
    <div>
      <Canvas
        style={{
          width: "100vw",
          height: "calc(100vh - 80px)",
          backgroundColor: "black",
        }}
      >
        <OrbitControls />
        <Box>
          <meshBasicMaterial color="yellow" />
        </Box>
      </Canvas>
      <div
        style={{
          height: 80,
          display: "flex",
          justifyContent: "space-around",
          alignItems: "center",
        }}
      >
        <input type="file" accept="audio/*" onChange={onFileChange} />
        <audio src={audioUrl ?? ""} controls ref={audioElmRef} />
      </div>
    </div>
  );
}

export default App;
Implement AudioAnalyzer to get FFT data
To use the <audio /> tag as the source of frequency analysis, create MediaElementAudioSourceNode and connect it to both AnalyserNode and the destination.
I'll explain the details about the returned data of getFFT in the later section.
export class AudioAnalyzer {
  #ctx: AudioContext;
  #analyzerNode: AnalyserNode;
  #sourceNode: MediaElementAudioSourceNode;

  constructor(audioElement: HTMLAudioElement) {
    this.#ctx = new AudioContext();
    this.#analyzerNode = this.#ctx.createAnalyser();
    this.#sourceNode = this.#ctx.createMediaElementSource(audioElement);

    this.#analyzerNode.minDecibels = -60;
    this.#analyzerNode.smoothingTimeConstant = 0.8;

    this.#sourceNode.connect(this.#analyzerNode);
    this.#sourceNode.connect(this.#ctx.destination);
  }

  getFFT(): Uint8Array {
    const data = new Uint8Array(this.#analyzerNode.frequencyBinCount);
    this.#analyzerNode.getByteFrequencyData(data);
    return data;
  }
}
You can use other audio sources except for <audio /> element such as AudioBuffer that can be decoded from an audio file fetched over the network.
Make utility modules
MeshLine
Because THREE.Line is not so flexible to draw complex lines, I'd like to use MeshLine, which allows us to draw a zig-zag line by only specifying points.
If you're a TypeScript user, make sure to extend IntrinsicElements to use meshLine and meshLineMaterial in your JSX.
import { extend, Object3DNode } from "@react-three/fiber";
import { MeshLine, MeshLineMaterial } from "meshline";

declare global {
  namespace JSX {
    interface IntrinsicElements {
      meshLine: Object3DNode<MeshLine, typeof MeshLine>;
      meshLineMaterial: Object3DNode<MeshLineMaterial, typeof MeshLineMaterial>;
    }
  }
}

export function extendMeshLine() {
  extend({ MeshLine, MeshLineMaterial });
}
Math functions
Also define some utils for calculation...
export const radians = (degrees: number) => {
  return (degrees * Math.PI) / 180;
};

export const normalizeBetween = (val: number, min: number, max: number) => {
  return (val - min) / (max - min);
};
Implement Visualizer component that draws a line in 3D space
import React from "react";
import { useFrame } from "@react-three/fiber";
import { Color } from "three";
import { MeshLine } from "meshline";
import { AudioAnalyzer } from "./lib/audio-analyzer";
import { extendMeshLine } from "./lib/meshline";
import { normalizeBetween, radians } from "./lib/math";

extendMeshLine();

type Props = {
  analyzer: AudioAnalyzer;
  lineWidth?: number;
  segments?: number;
  radius?: number;
  height?: number;
};

export default function Visualizer({
  analyzer,
  lineWidth = 0.02,
  segments = 100,
  radius = 2,
  height = 1,
}: Props) {
  const lineRef = React.useRef<MeshLine>(null!);

  useFrame(() => {
    if (!analyzer) return;
    const fft = analyzer.getFFT();
    const points: number[] = [];
    for (let i = 0; i <= segments; i++) {
      const val = normalizeBetween(fft[i < segments ? i : 0], 0, 255) * height;
      const angle = i * (360 / segments);
      const theta = radians(angle);
      const x = (radius + val) * Math.cos(theta);
      const y = -(radius + val) * Math.sin(theta);
      points.push(x, y, 0);
    }
    lineRef.current?.setPoints(points);
  });

  return (
    <mesh>
      <meshLine ref={lineRef} attach="geometry" />
      <meshLineMaterial
        attach="material"
        lineWidth={lineWidth}
        color={new Color("#C36DFF")}
      />
    </mesh>
  );
}
All the logic to draw the shape is defined in the function passed to useFrame hook. It gets FFT data every frame and iterates over the values to determine which area of frequency is dominant and draws the area larger.
What is the result of getFFT?
I can't explain how FFT works precisely as I'm not a specialist in audio processing. But in a nutshell, the returned data of getFFT is an array of gain for a specific frequency range, sorted from lowest to highest.
The simplest visualization is as follows:

(Image from MDN)
Connect them all
We need to connect all the parts to make the app work.
function App() {
  const [analyzer, setAnalyzer] = React.useState<AudioAnalyzer | null>(null);
  // {...}

  const onFileChange = (e: ChangeEvent<HTMLInputElement>) => {
    // {...}
    setAnalyzer(new AudioAnalyzer(audioElmRef.current));
  };
  return (
    <div>
      {/* {...} */}
      <Canvas>
        {/* {...} */}
        {analyzer && <Visualizer analyzer={analyzer} lineWidth={0.08} />}
      </Canvas>
      {/* {...} */}
    </div>
  );
}
Summary
It's not so hard to visualize audio with the help of WebAudio API and Three.js. Create more unique and creative ones with your idea!